Web Server
Prerequisites
SSH Key Generation
Generate an SSH key:
kyle@rhea:~ $ ssh-keygen -t ed25519 -C "kyle@rhea.lan" -f ~/.ssh/id_ed25519_kyle_at_rhea_dot_lan
Configure SSH settings by editing ~/.ssh/config:
Host home.lan
  HostName home.lan
  User kyle
  IdentityFile ~/.ssh/id_ed25519_kyle_at_rhea_dot_lan
Router Configuration
In OpenWRT, under DHCP and DNS settings, map the hostname to an IP address:
/home.lan/10.0.0.2
Install Debian
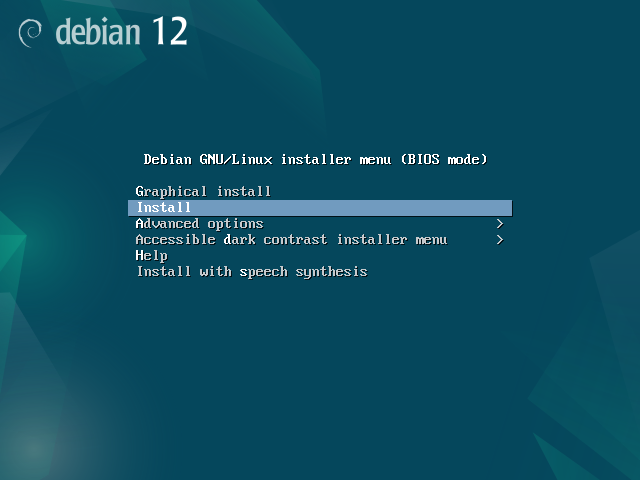
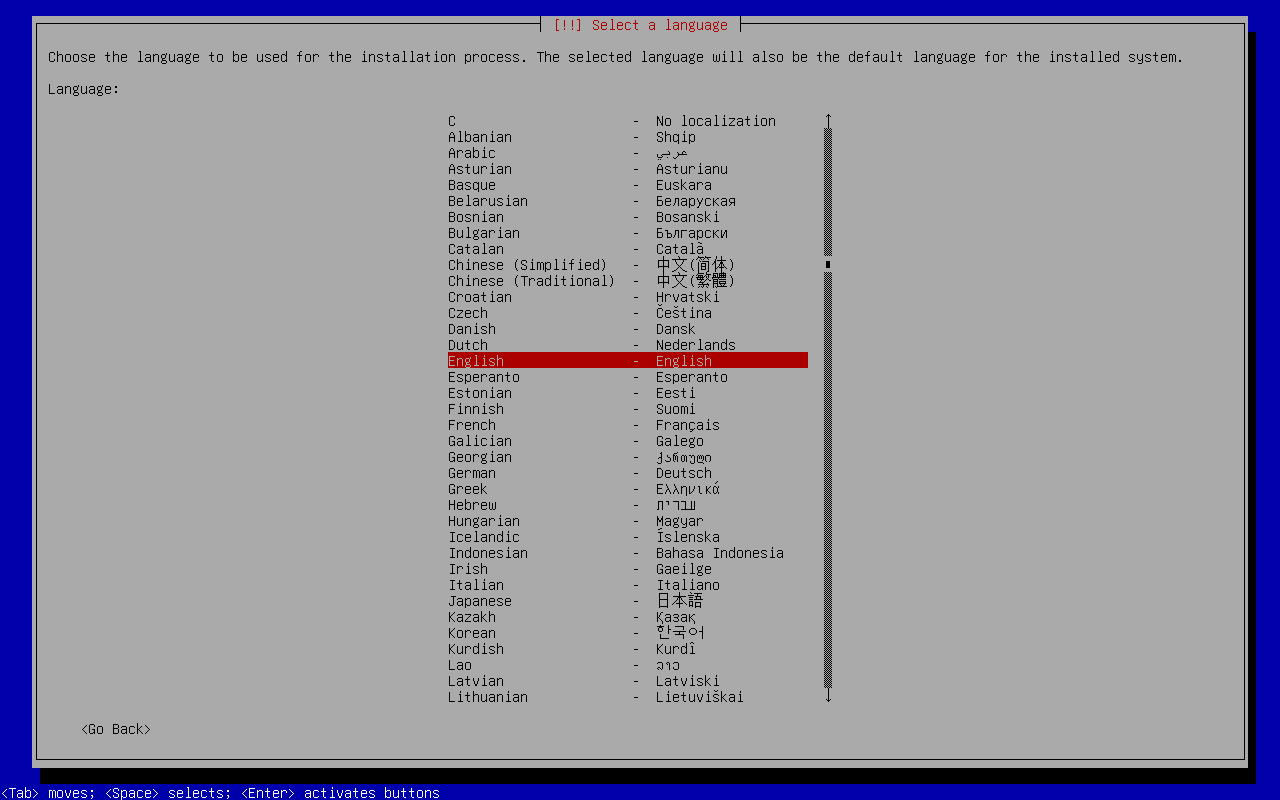
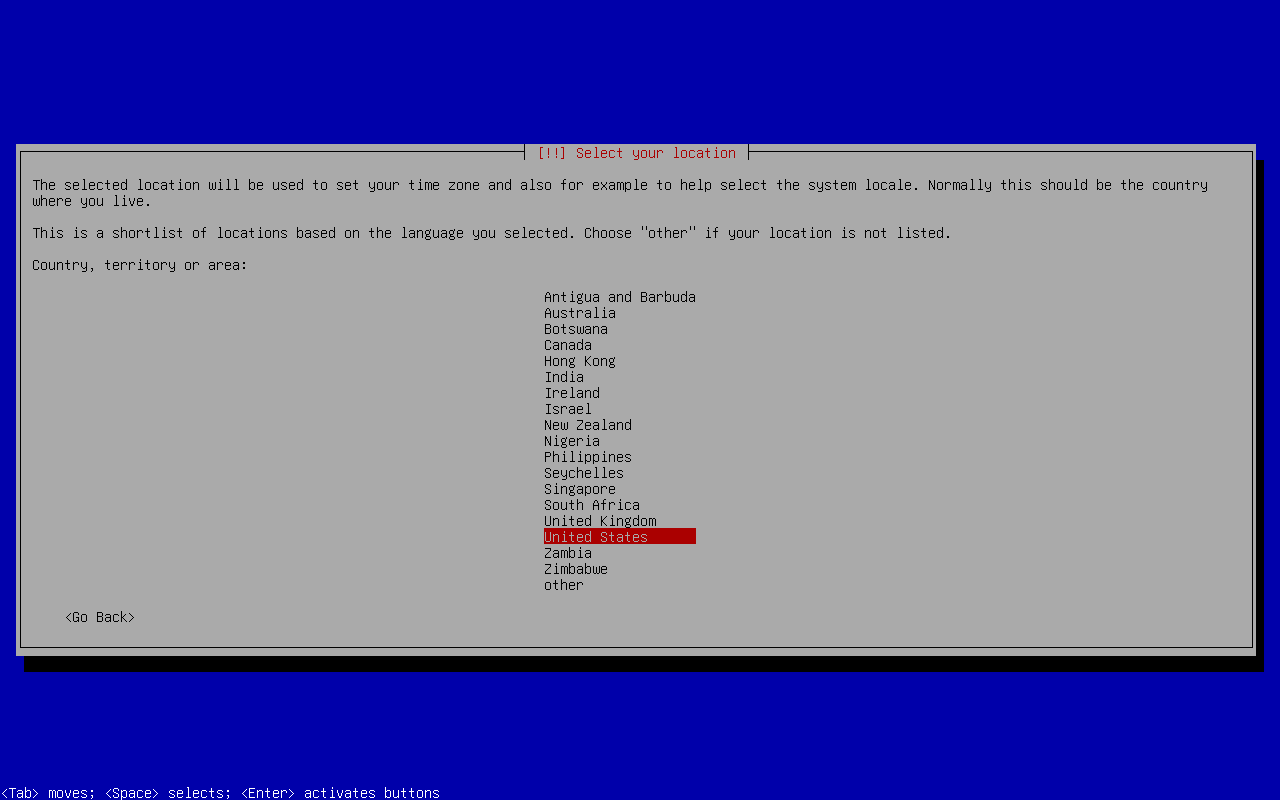
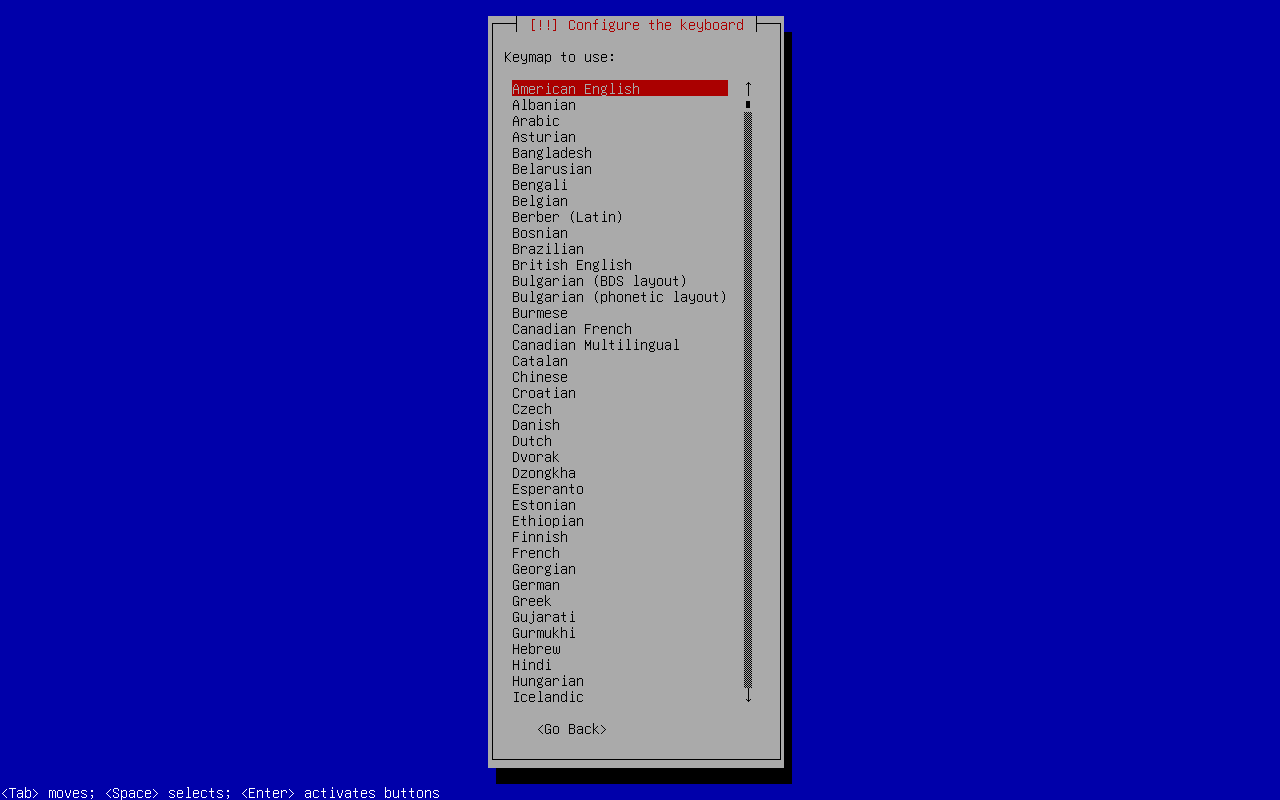
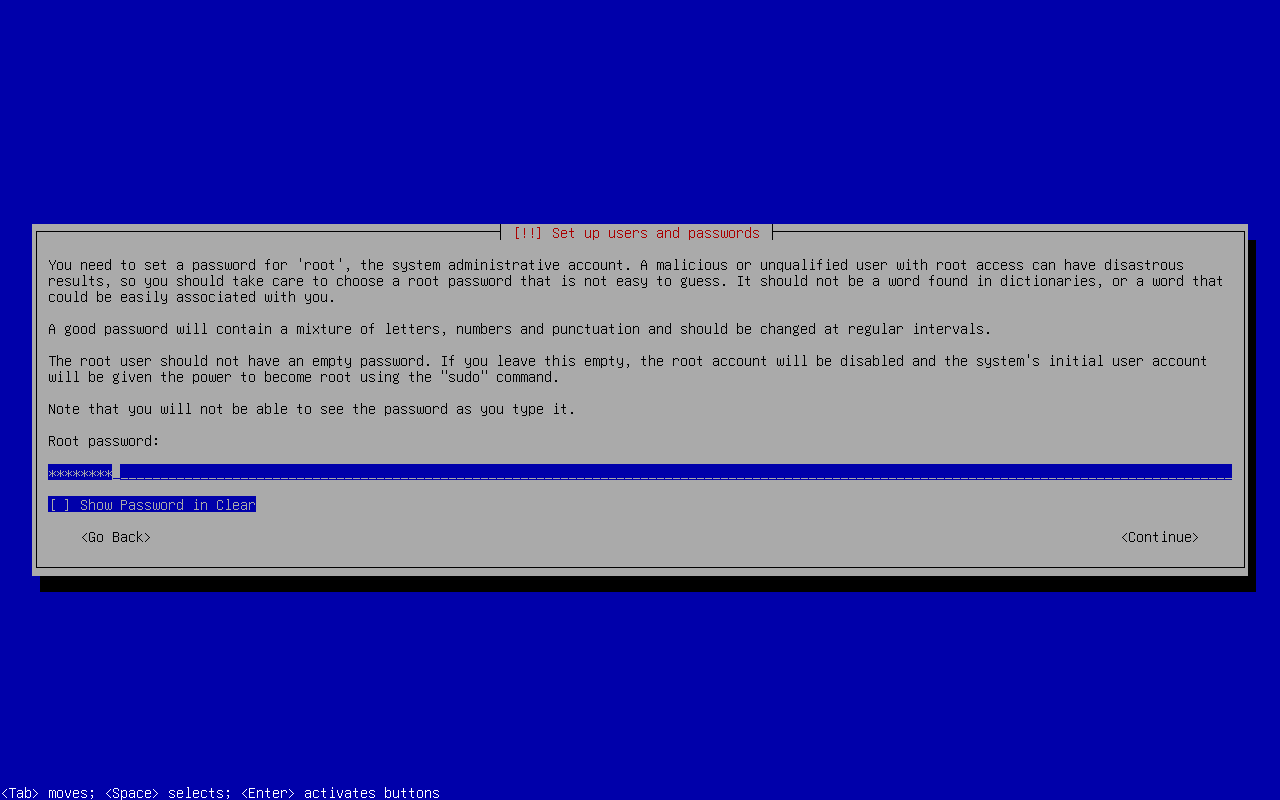
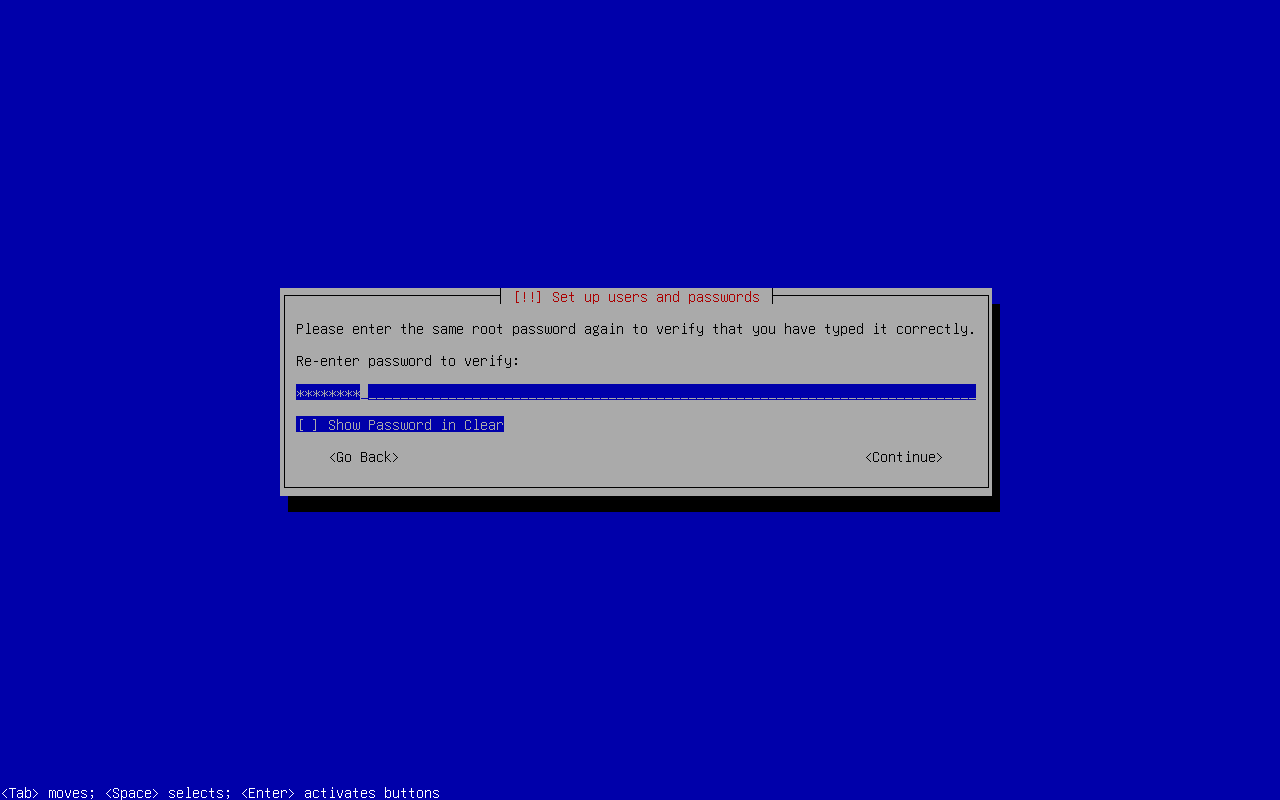
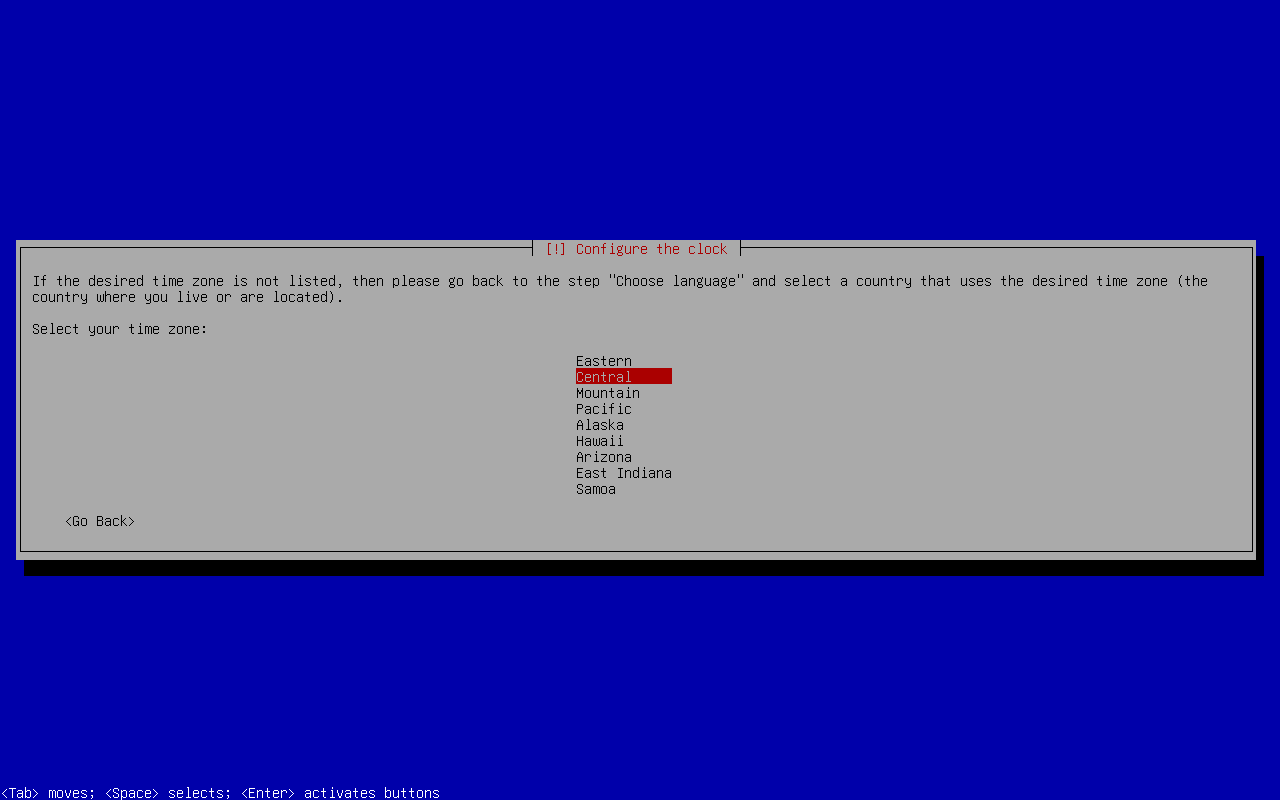
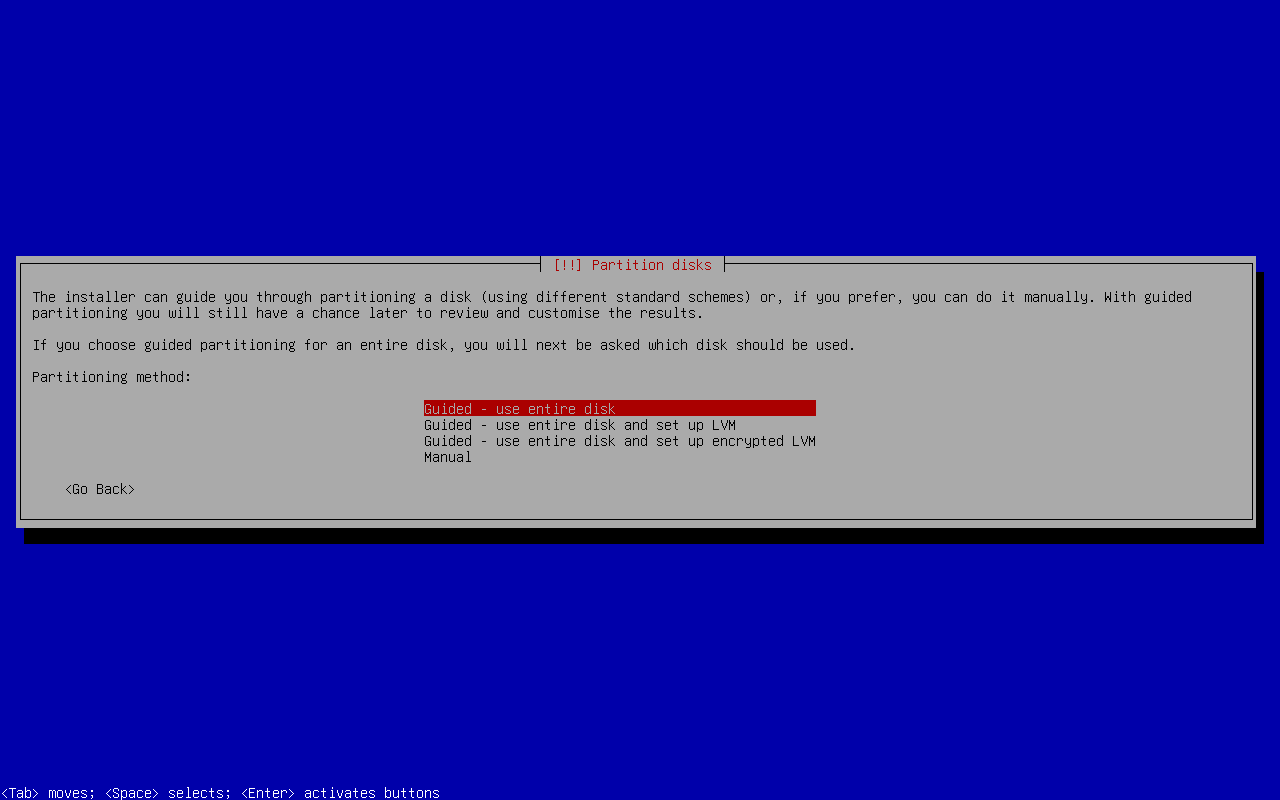
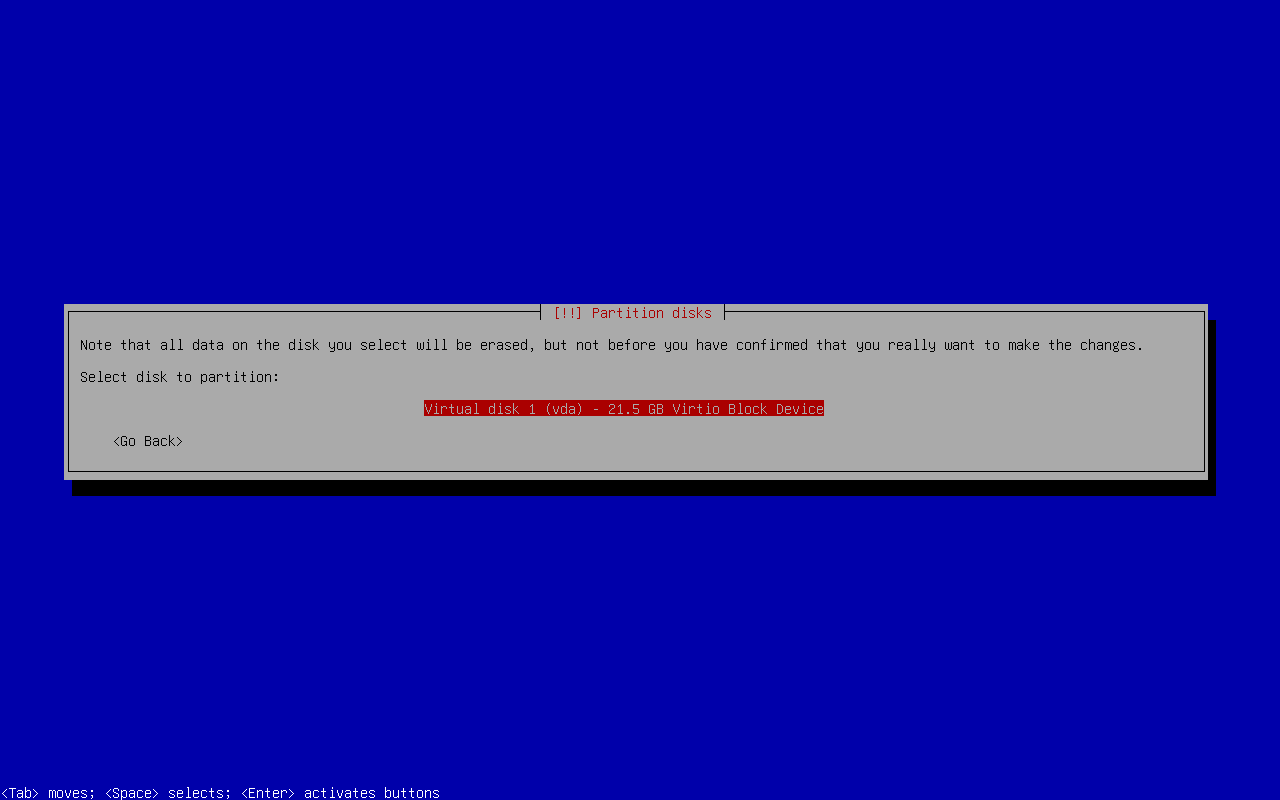
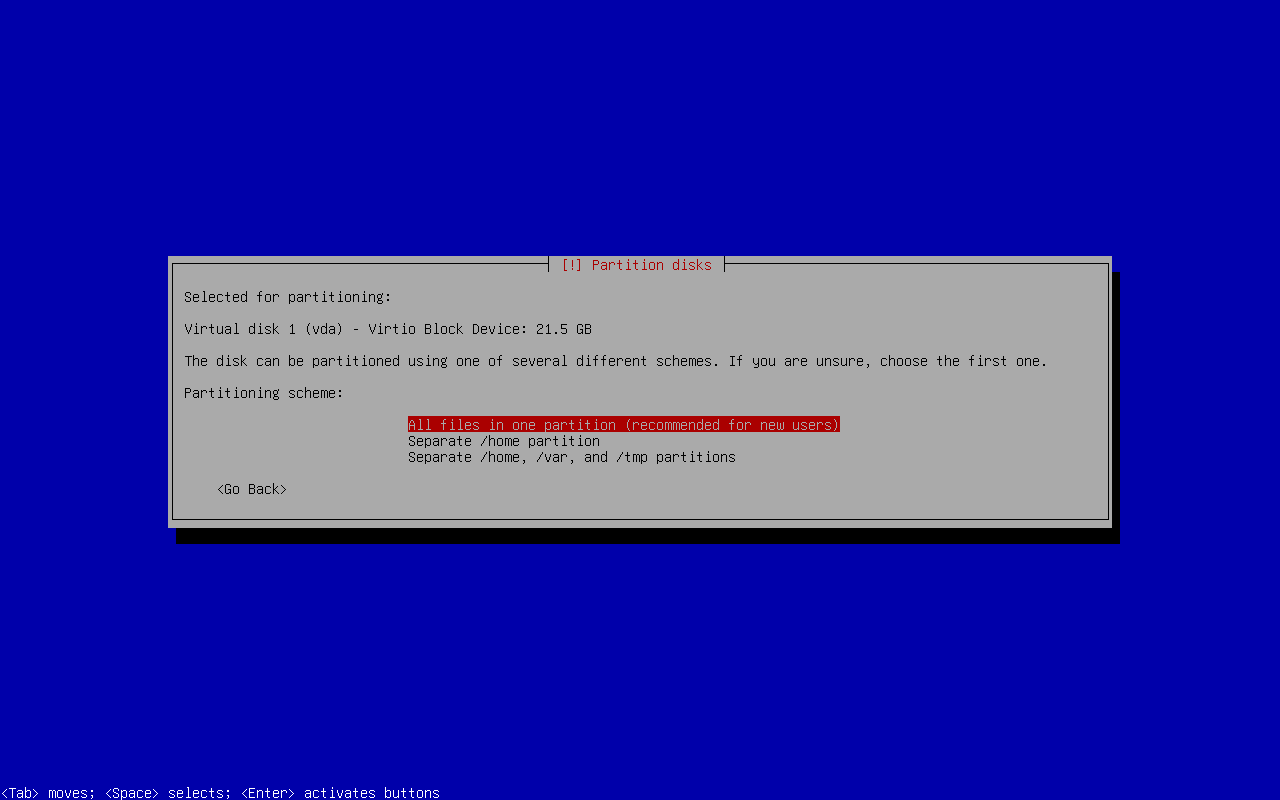
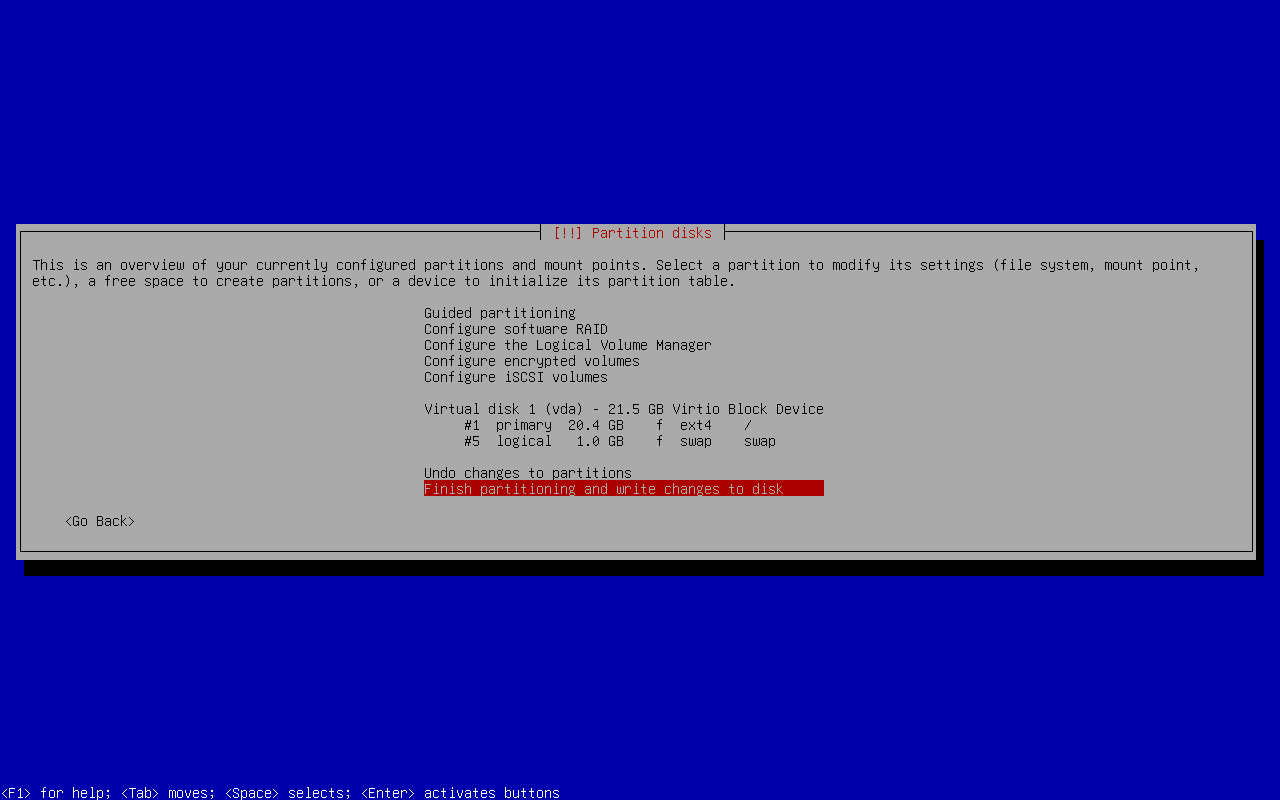
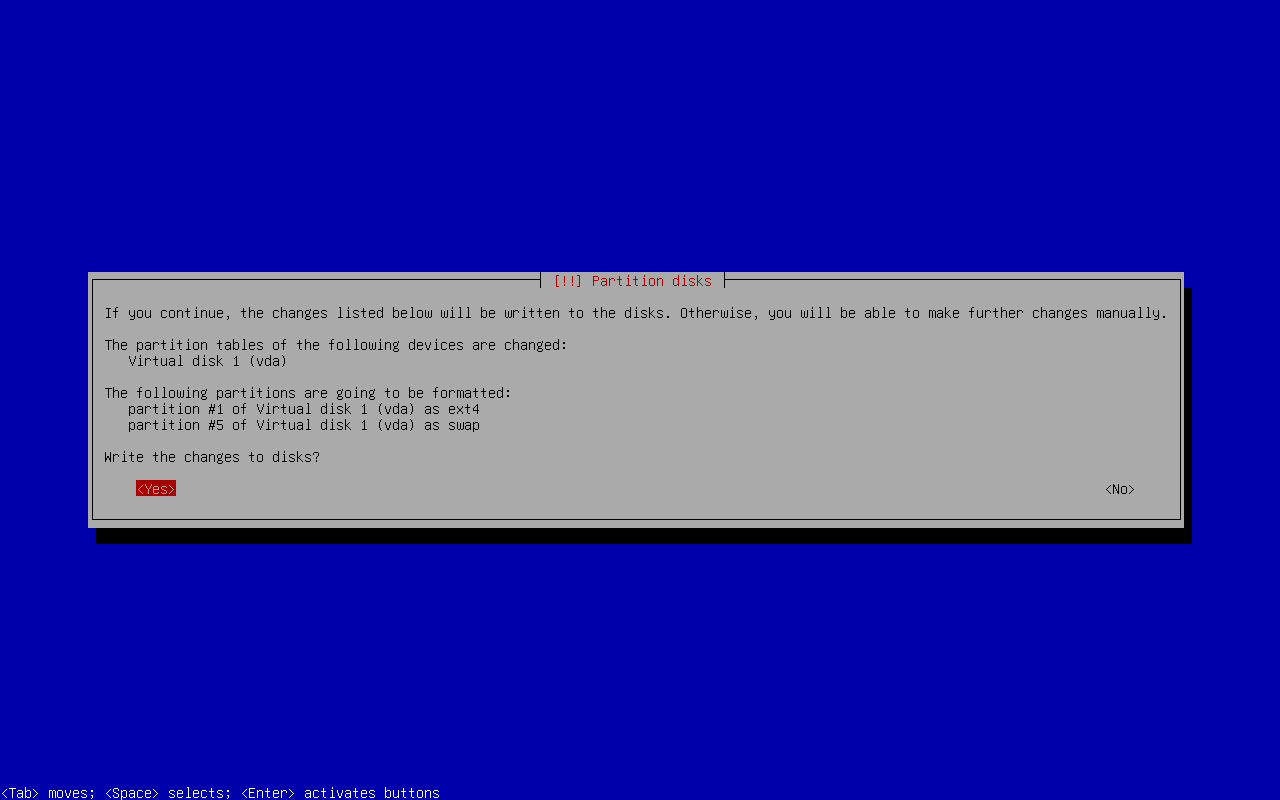
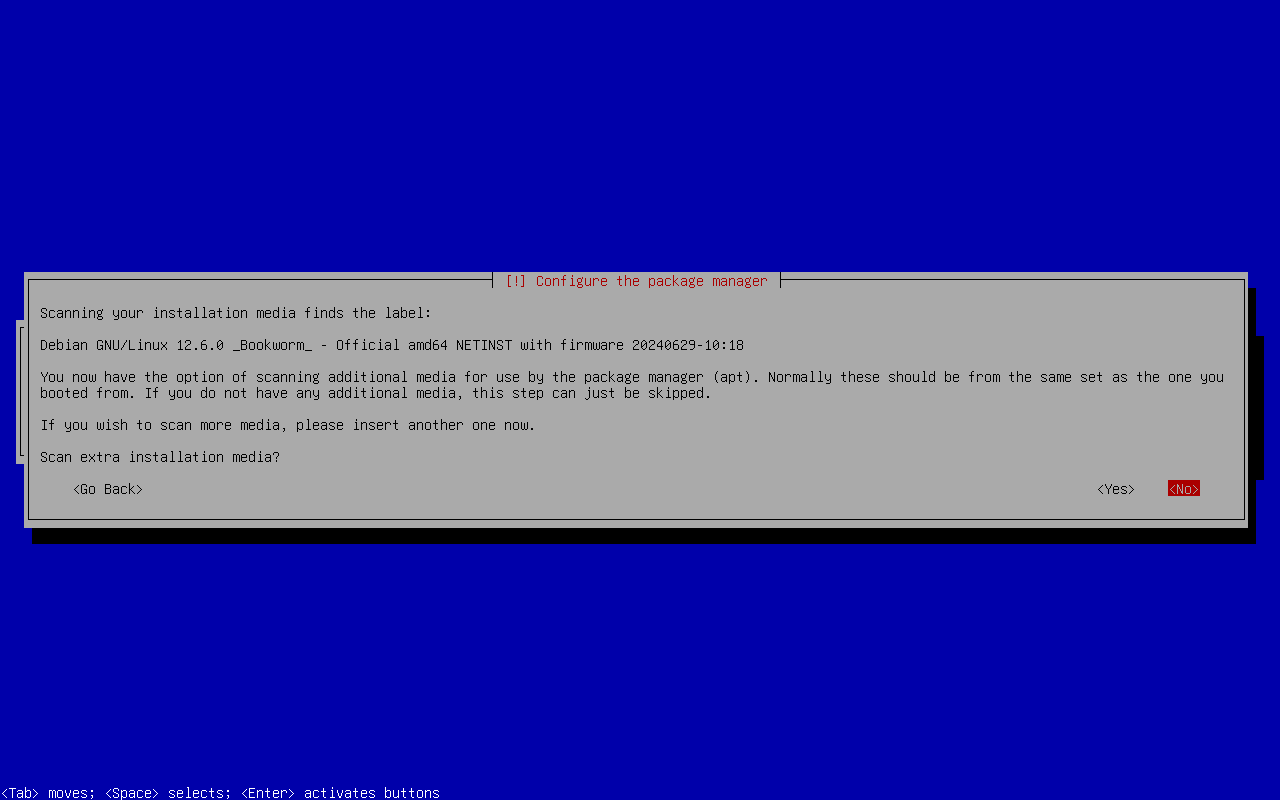
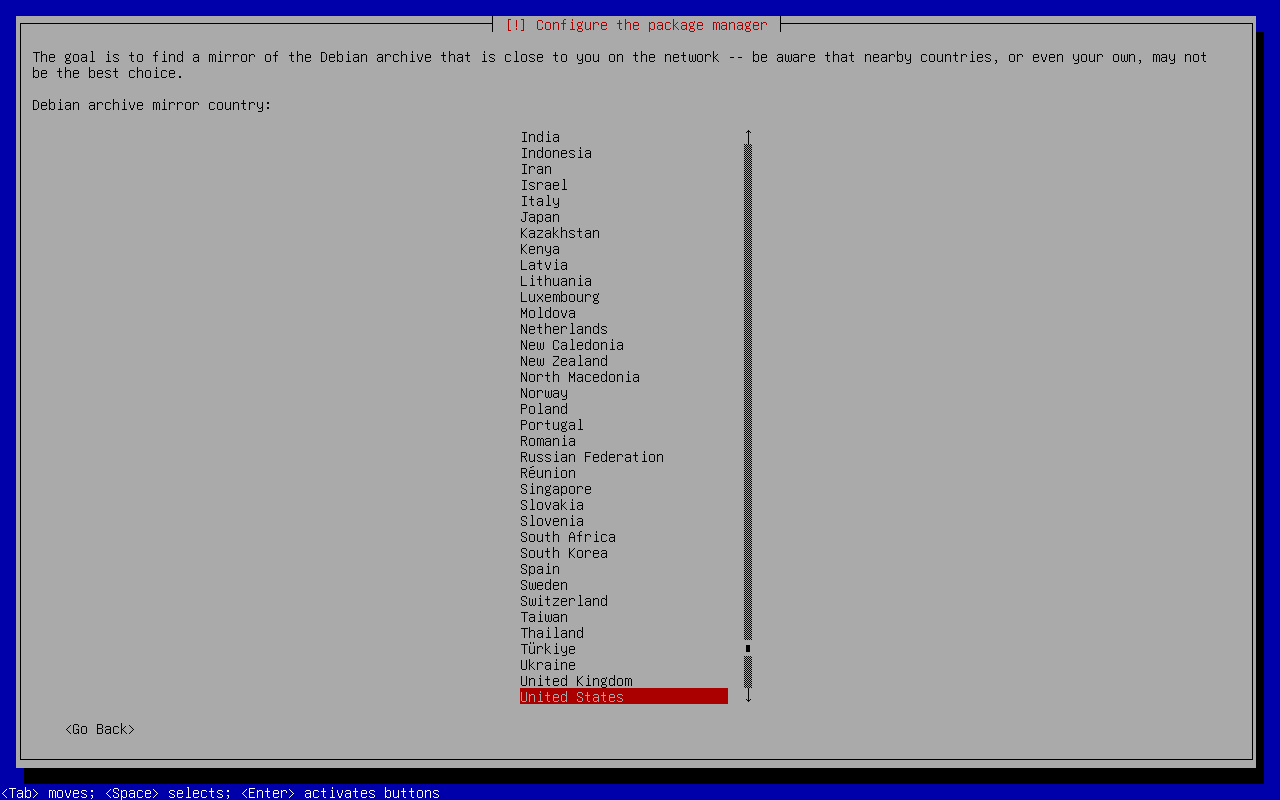
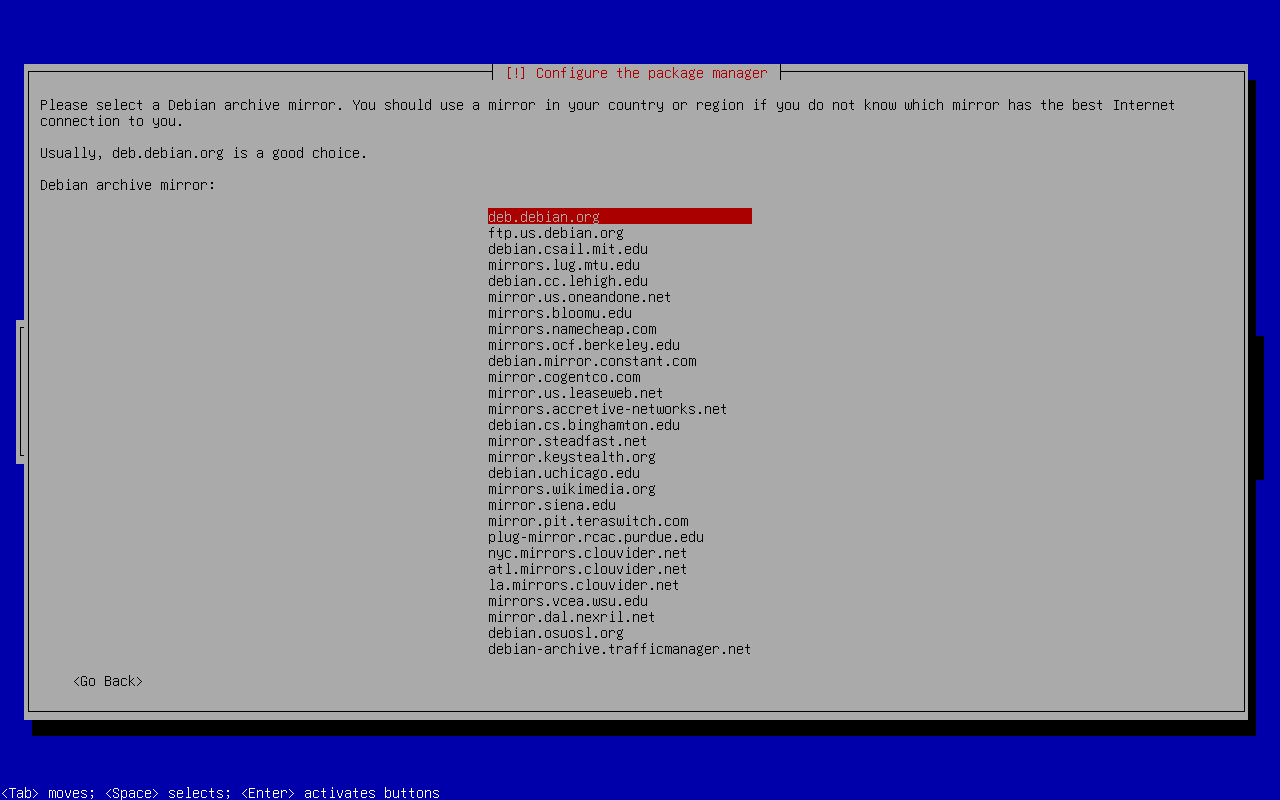
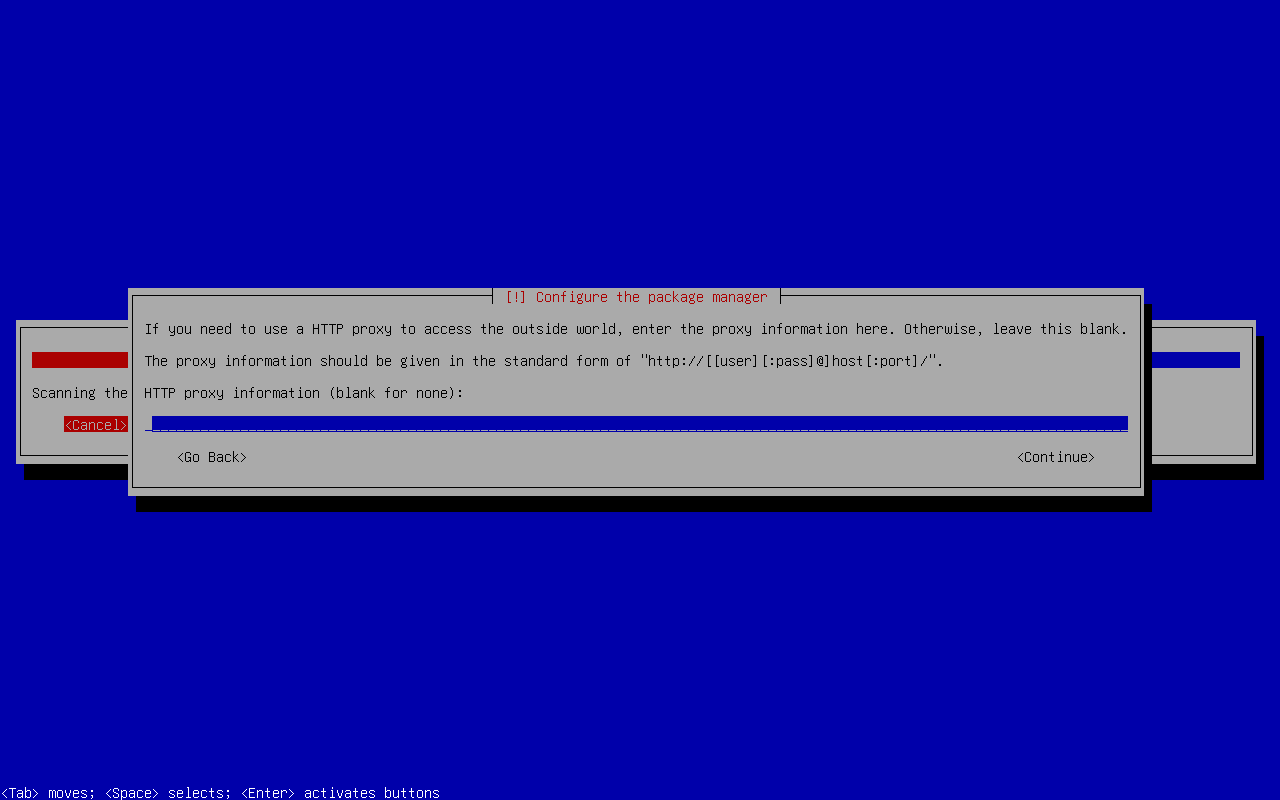
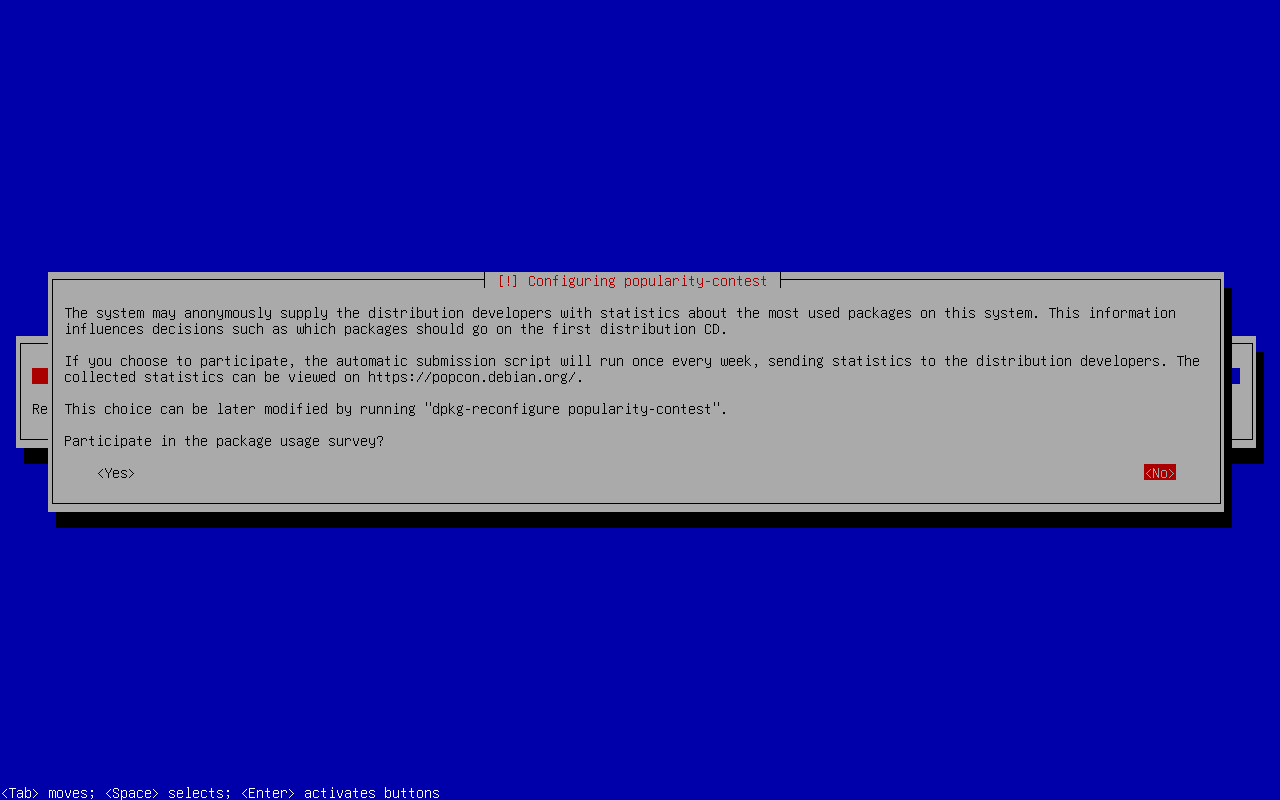
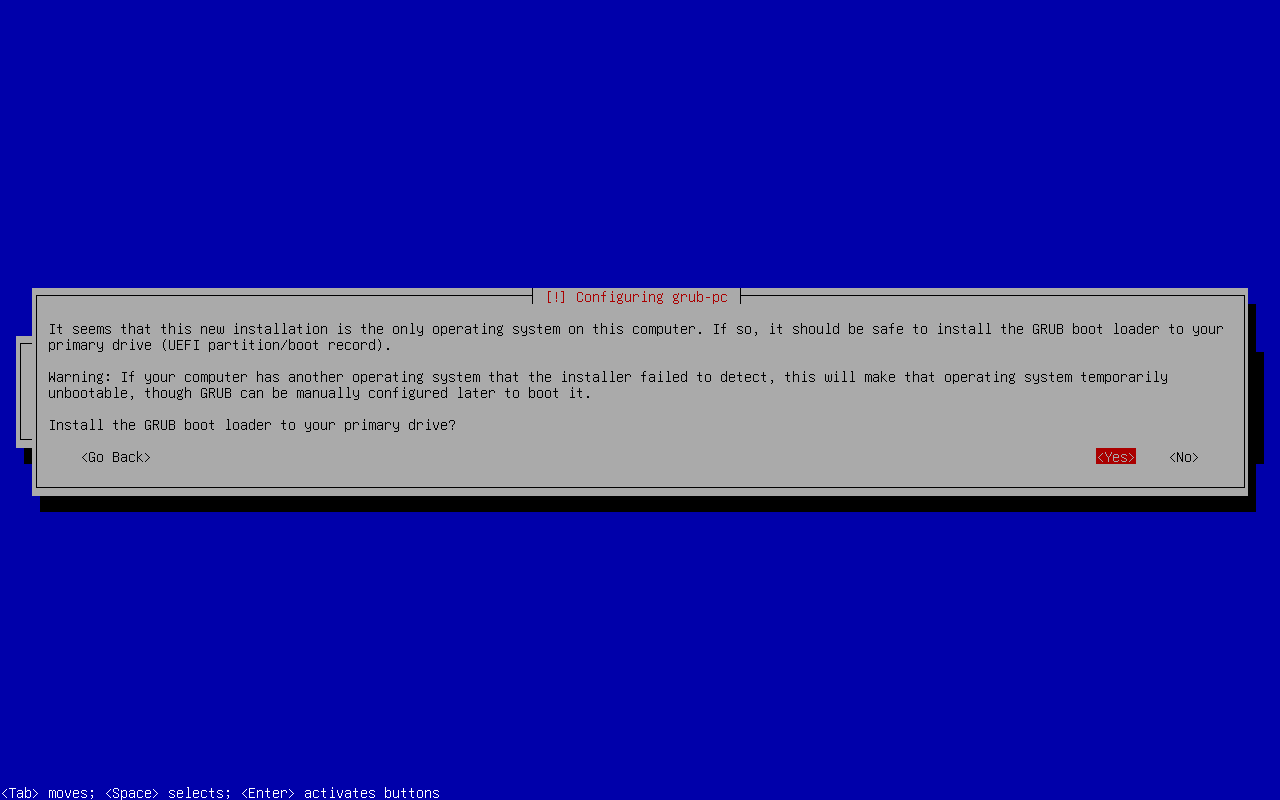
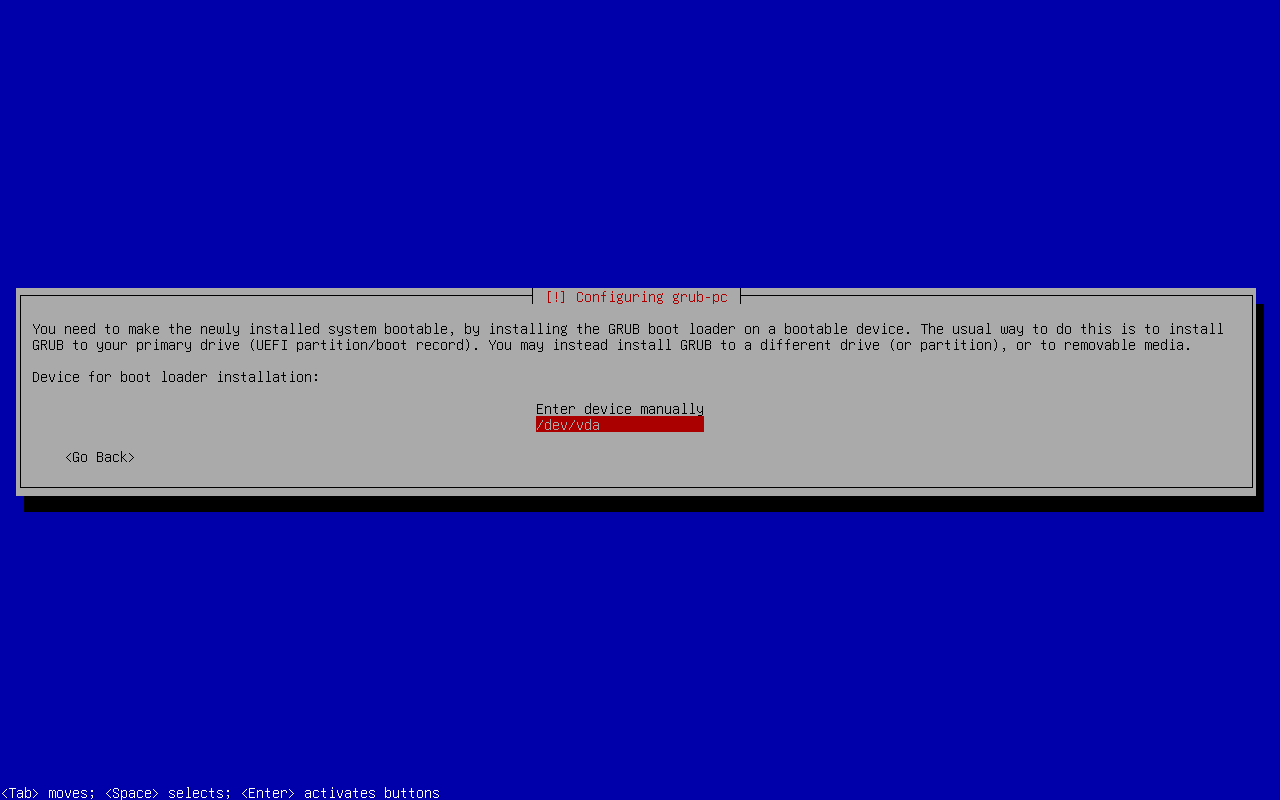
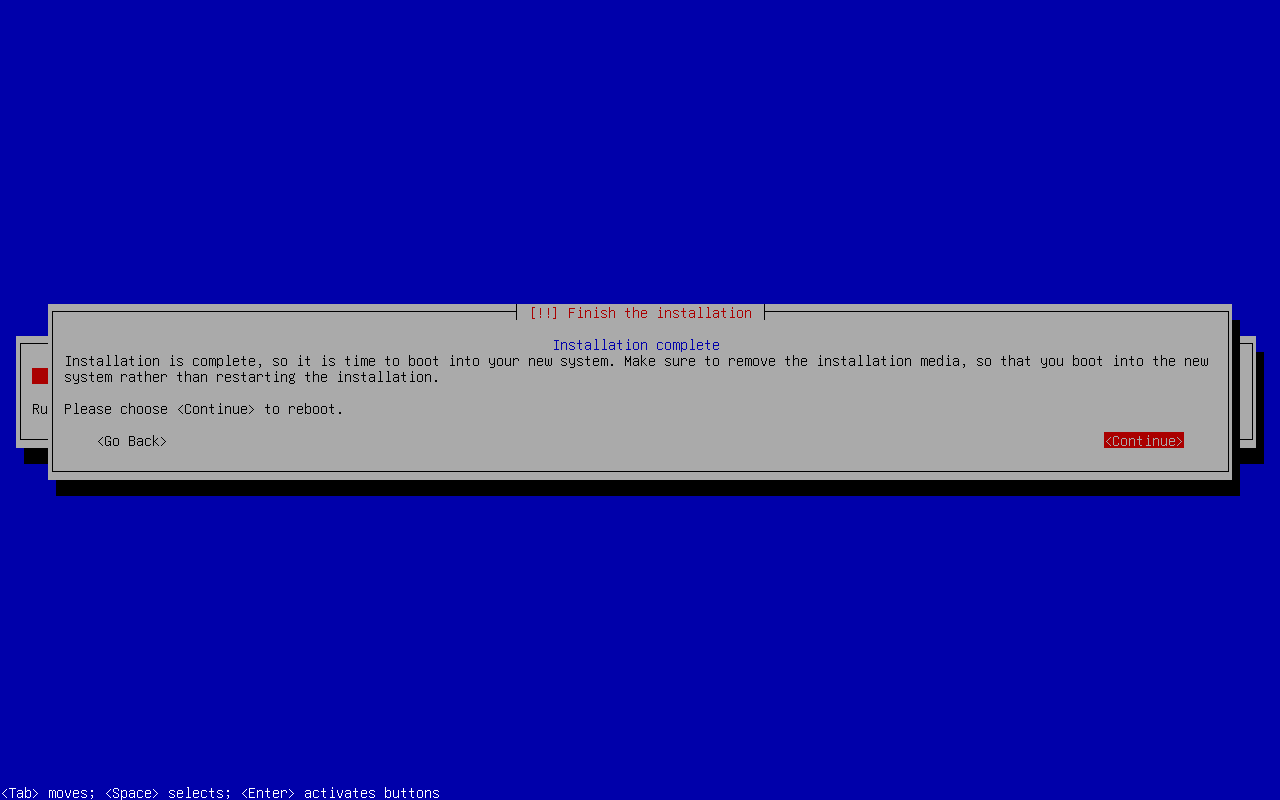
- Install Debian 12 using the netinst ISO.
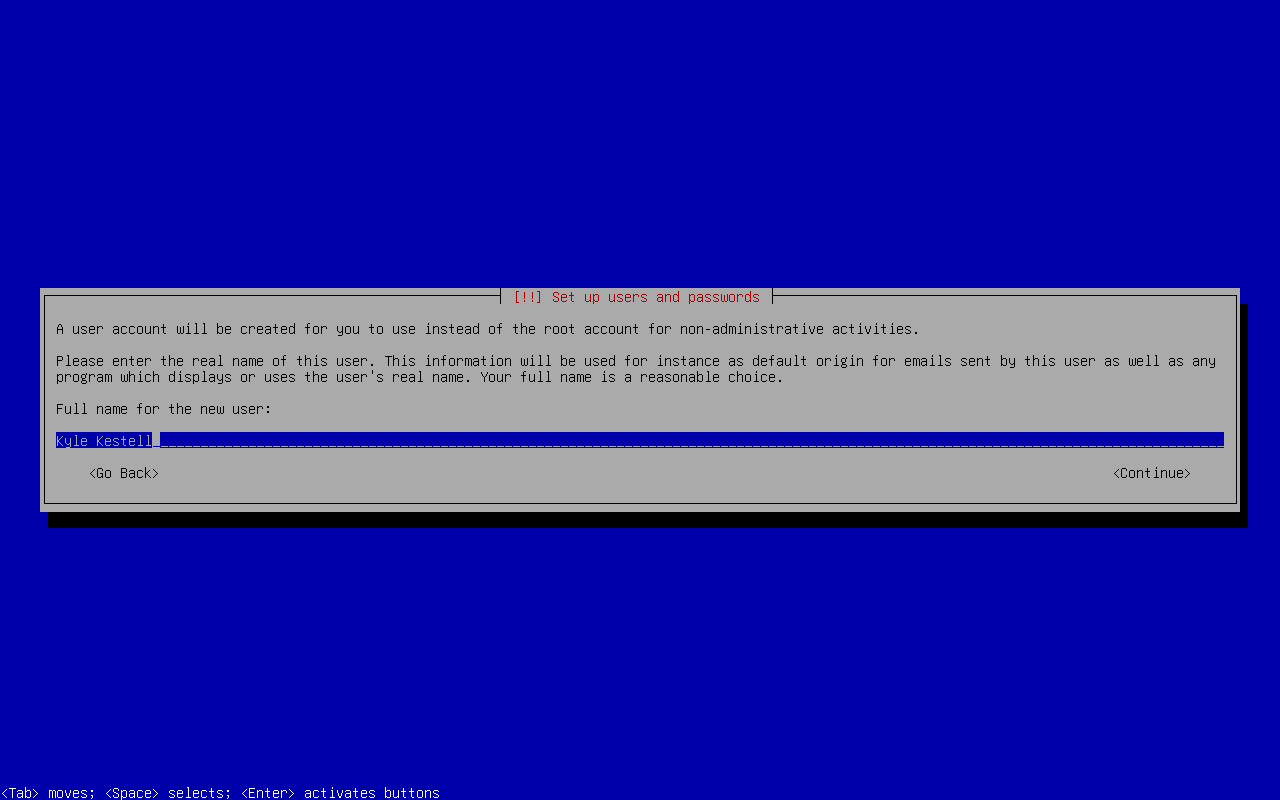
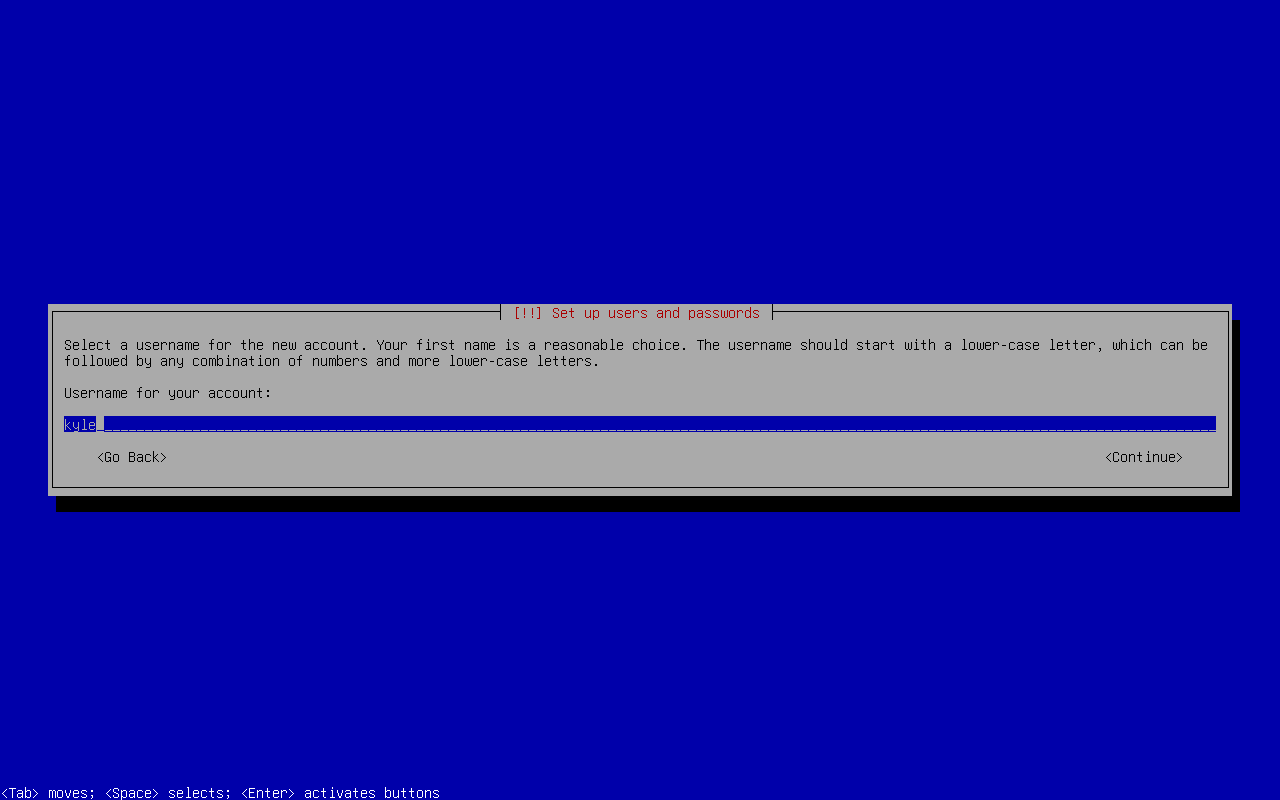
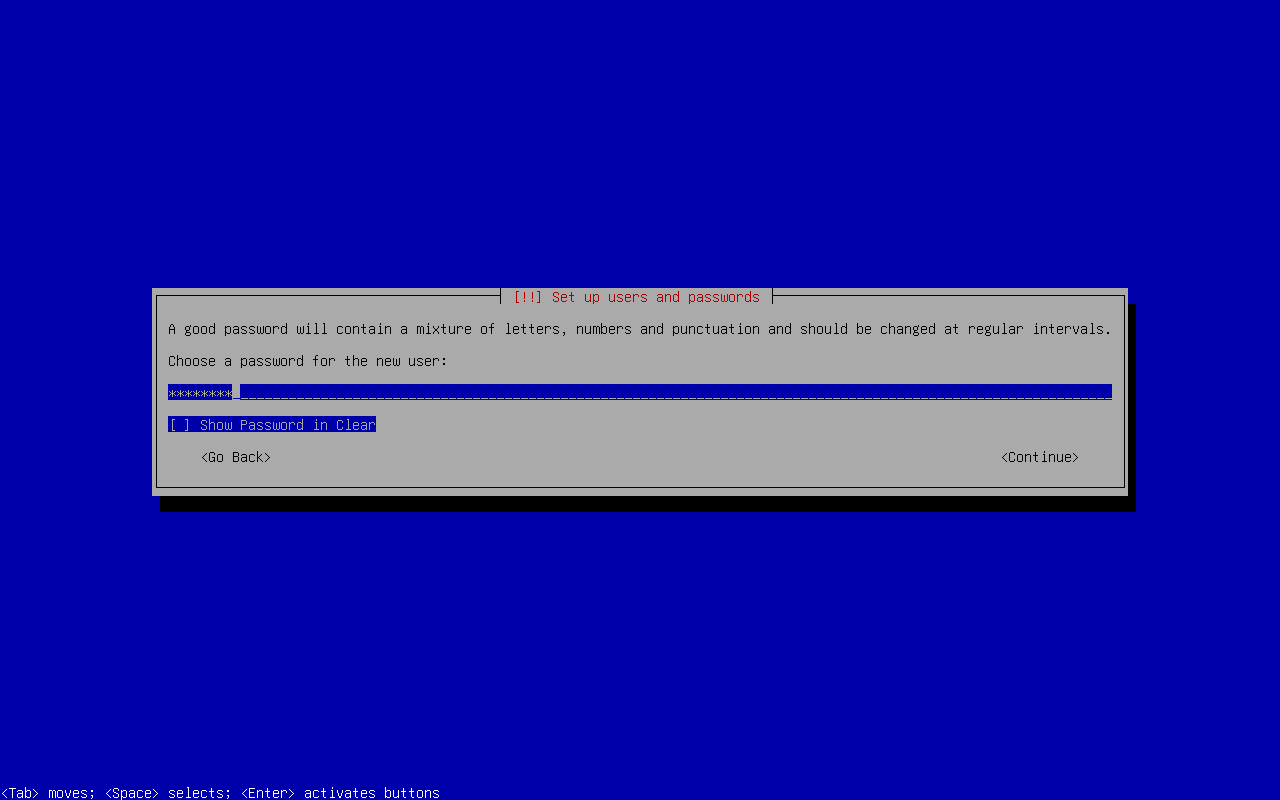
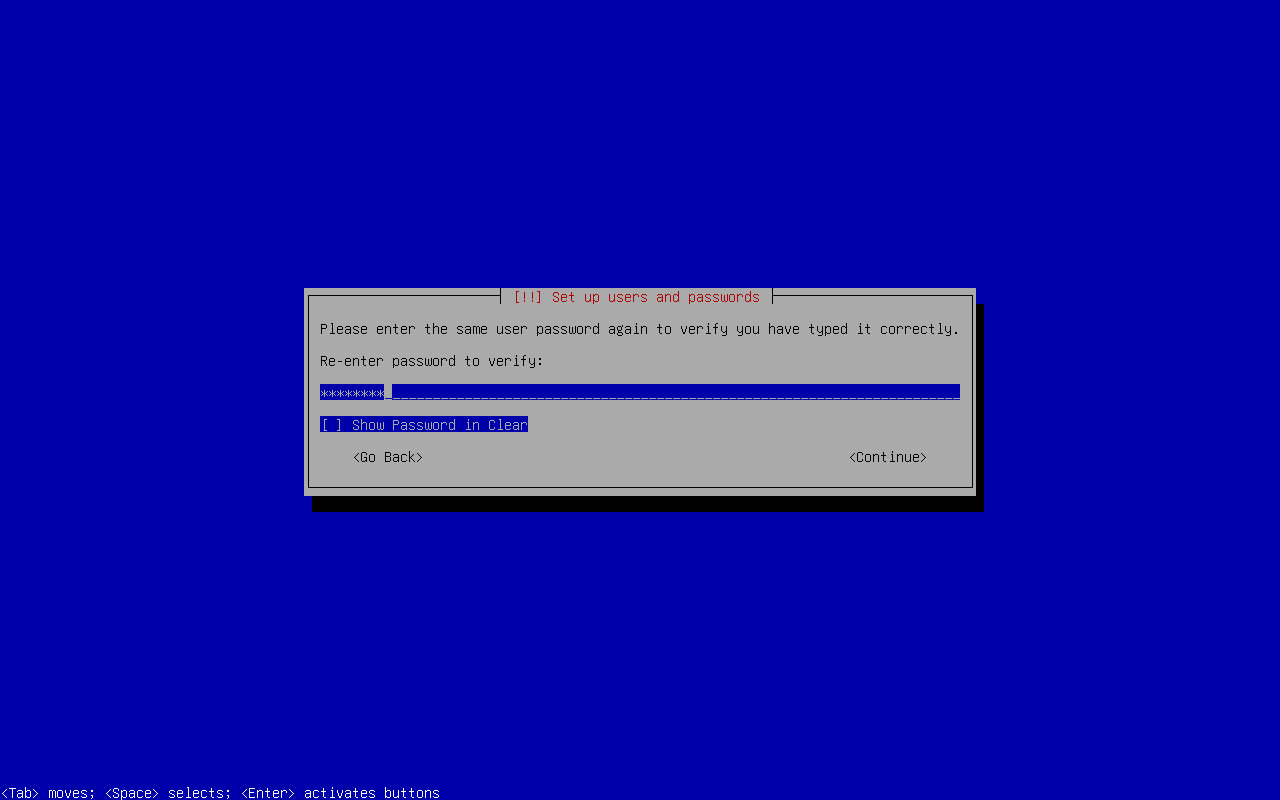
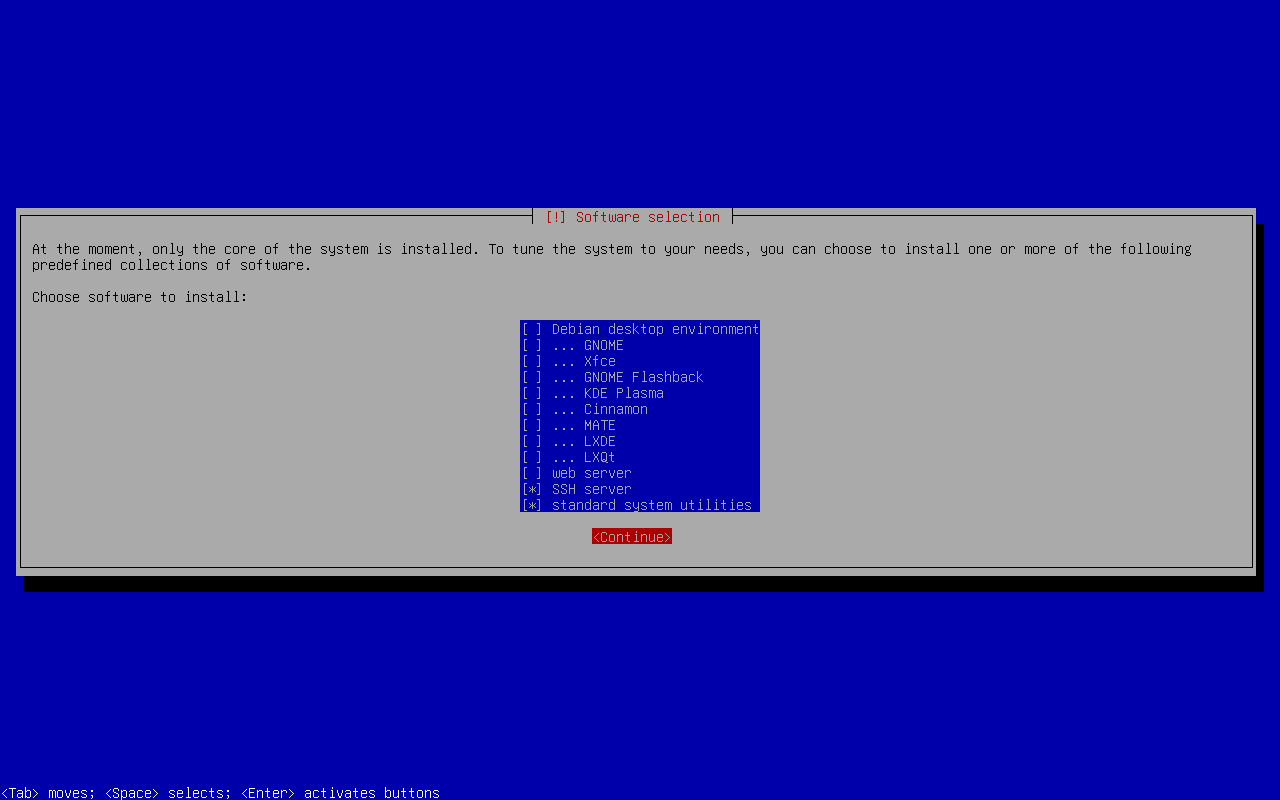
- During installation, deselect the graphical environment and GNOME; select the SSH server.
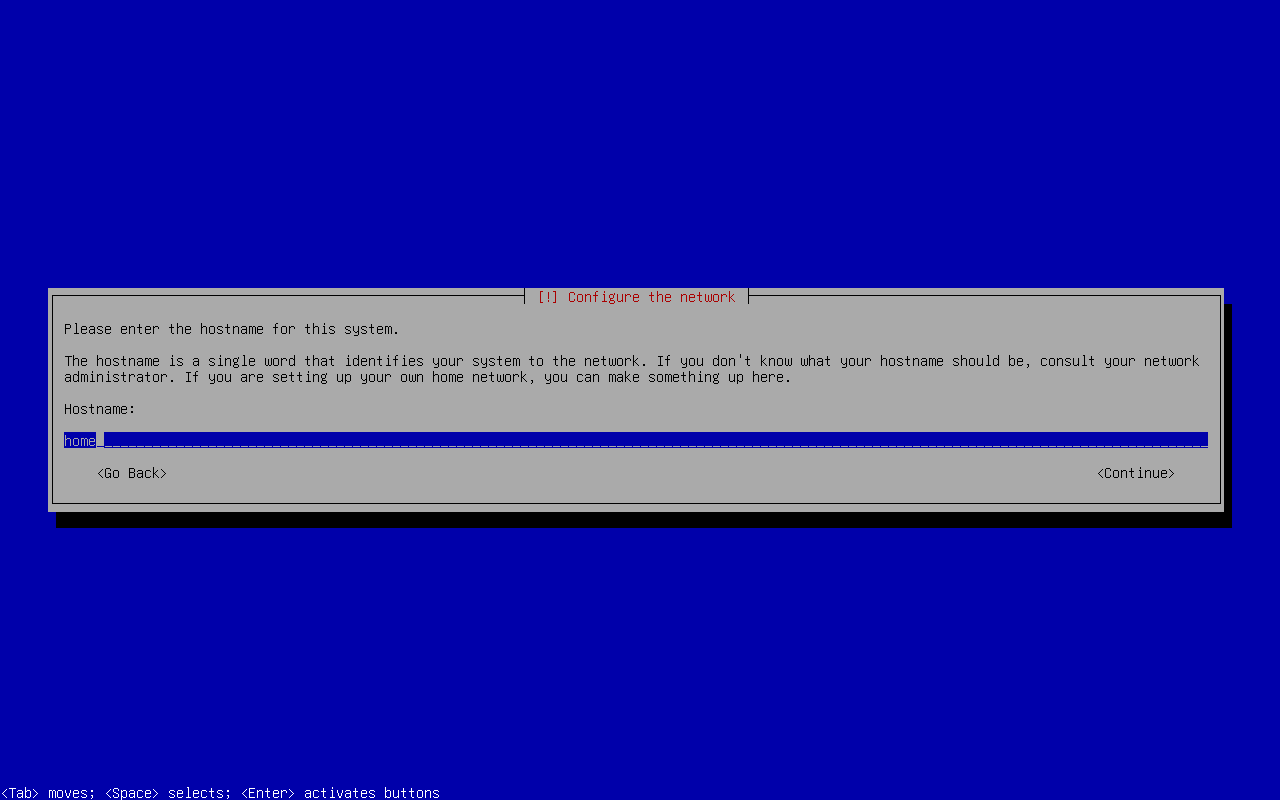
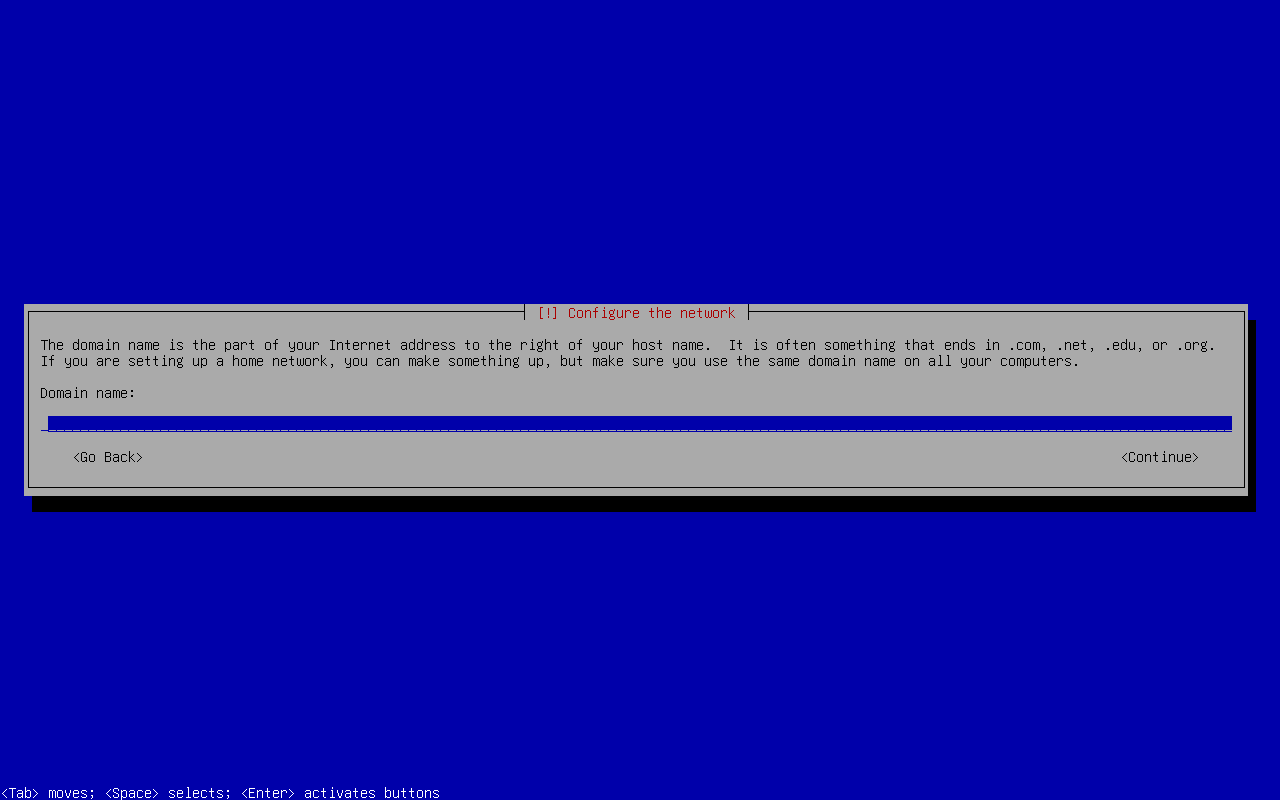
- Set hostname to
homeand leave the domain field blank.
SSH Configuration and Key Distribution
Verify SSH login capability using a password:
kyle@rhea:~ $ ssh kyle@home.lan
Add the generated SSH key to the server:
kyle@rhea:~ $ ssh-copy-id -i ~/.ssh/id_ed25519_kyle_at_rhea_dot_lan kyle@home.lan
Attempt to log in again to confirm that no password prompt appears.
Server Configuration
Install Docker
See: https://docs.docker.com/engine/install/debian/.
Nginx Reverse Proxy
Install Nginx
kyle@home:~ $ sudo apt install nginx
Configure Nginx
Create a new configuration file for your application in the /etc/nginx/sites-available directory:
kyle@home:~ $ sudo nano /etc/nginx/sites-available/hello
Add the following configuration to the file:
server {
    listen 80;
    server_name hello.home.lan;

    location / {
        proxy_pass http://localhost:5000;
        proxy_http_version 1.1;
        proxy_set_header Upgrade $http_upgrade;
        proxy_set_header Connection 'upgrade';
        proxy_set_header Host $host;
        proxy_cache_bypass $http_upgrade;
    }
}
Enable the Configuration
Link the file you just created in sites-available to the sites-enabled directory to enable it:
kyle@home:~ $ sudo ln -s /etc/nginx/sites-available/hello /etc/nginx/sites-enabled/
Test the Configuration
Before restarting Nginx, it's a good practice to test the configuration for any errors:
kyle@home:~ $ sudo nginx -t
Restart Nginx
If the configuration test was successful, restart Nginx to apply the changes:
kyle@home:~ $ sudo systemctl restart nginx
Systemd Unit
Create the Systemd Service File
Open a new file in the /etc/systemd/system directory:
kyle@home:~ $ sudo nano /etc/systemd/system/hello.service
Add the following configuration to the file:
[Unit]
Description=Hello Service
Requires=docker.service
After=docker.service network.target

[Service]
Type=simple
User=kyle
WorkingDirectory=/home/kyle/hello
ExecStart=/usr/bin/docker compose up --build
ExecStop=/usr/bin/docker compose down
Restart=always
RestartSec=10s

[Install]
WantedBy=multi-user.target
This configuration does the following:
- Description
- Provides a brief description of the service.
- Requires/After
- Ensures that Docker is fully loaded before starting this service.
- Type
- Defines the initialization type; simple is standard for services that run continuously.
- User
- Specifies the user under which the service will run.
- WorkingDirectory
- Defines the directory where the command will be executed.
- ExecStart
- Command to start the service, which in this case builds and starts the Docker containers.
- ExecStop
- Command to stop the service, which takes down the Docker containers.
- Restart
- Configures the service for automatic restart on failure.
- RestartSec
- Delays between restart attempts.
Reload Systemd to Read New Unit File
Once you've created and saved your service file, reload systemd to recognize the new service:
kyle@home:~ $ sudo systemctl daemon-reload
Enable the Service
Enable the service to start on boot:
kyle@home:~ $ sudo systemctl enable hello.service
Start the Service
You can now start the service manually, without having to reboot:
kyle@home:~ $ sudo systemctl start hello.service
Check the Status of the Service
To ensure that your service is running correctly, check its status:
kyle@home:~ $ sudo systemctl status hello.service
Verify Setup
kyle@rhea:~ $ curl -I hello.web-server
HTTP/1.1 200 OK
Server: nginx/1.22.1
Date: Sat, 06 Jul 2024 18:16:06 GMT
Content-Type: text/html; charset=utf-8
Content-Length: 15837
Connection: keep-alive

kyle@rhea:~ $ curl hello.web-server
Hello, World!
Deployments
Install rsync
kyle@home:~ $ sudo apt install rsync
Makefile:
.PHONY: deploy import run

deploy:
    rsync -av --exclude '.venv/' --exclude '.git/' --exclude '.idea/' ./ kyle@home.lan:/home/kyle/hello/
    @echo "Enter server root password:" && \
    read -s password && \
    echo $$password | ssh kyle@home.lan 'sudo -S systemctl restart hello.service'

run:
    docker-compose up --build
Dockerfile:
FROM debian:bookworm

ENV PYTHONUNBUFFERED=1 \
    PYTHONDONTWRITEBYTECODE=1 \
    PATH="/venv/bin:$PATH"

RUN apt-get update \
    && apt-get install -y python3-pip python3-venv python3-dev \
    && apt-get clean \
    && rm -rf /var/lib/apt/lists/*

RUN python3 -m venv /venv

COPY requirements.txt /app/requirements.txt
RUN pip install --no-cache-dir -r /app/requirements.txt

COPY . /app

WORKDIR /app

EXPOSE 5000

CMD ["flask", "run", "--host=0.0.0.0"]
docker-compose.yml
version: '3.8'
services:
  web:
    build: .
    ports:
      - "5000:5000"
    environment:
      - FLASK_ENV=development
